Set Up Your First Workspace in 5 Minutes

If you have just signed up for Yelken360, the first thing to do is create a workspace. This guide walks you through the essential steps so you can go from zero to a working workspace in about five minutes.
1. Log in and open workspaces
After you log in to your company account, go to the workspaces section. If this is your first time, you will create your first workspace. Click the option to create a new workspace and you will see a form asking for basic information.
2. Enter workspace basics
Fill in the core details that define your workspace:
- Name: A clear name for the workspace (e.g. your company name, brand, or project). This can appear in reports and exports.
- Language: The default language for this workspace (e.g. Turkish or English). It affects labels and date/number formats in the interface and in documents.
- Currency: The workspace currency for prices, invoices, and reports. You can set the exchange rate and display format (symbol, code, etc.) in workspace settings later.
These settings ensure that every proposal, invoice, and report produced in this workspace uses consistent language and currency.
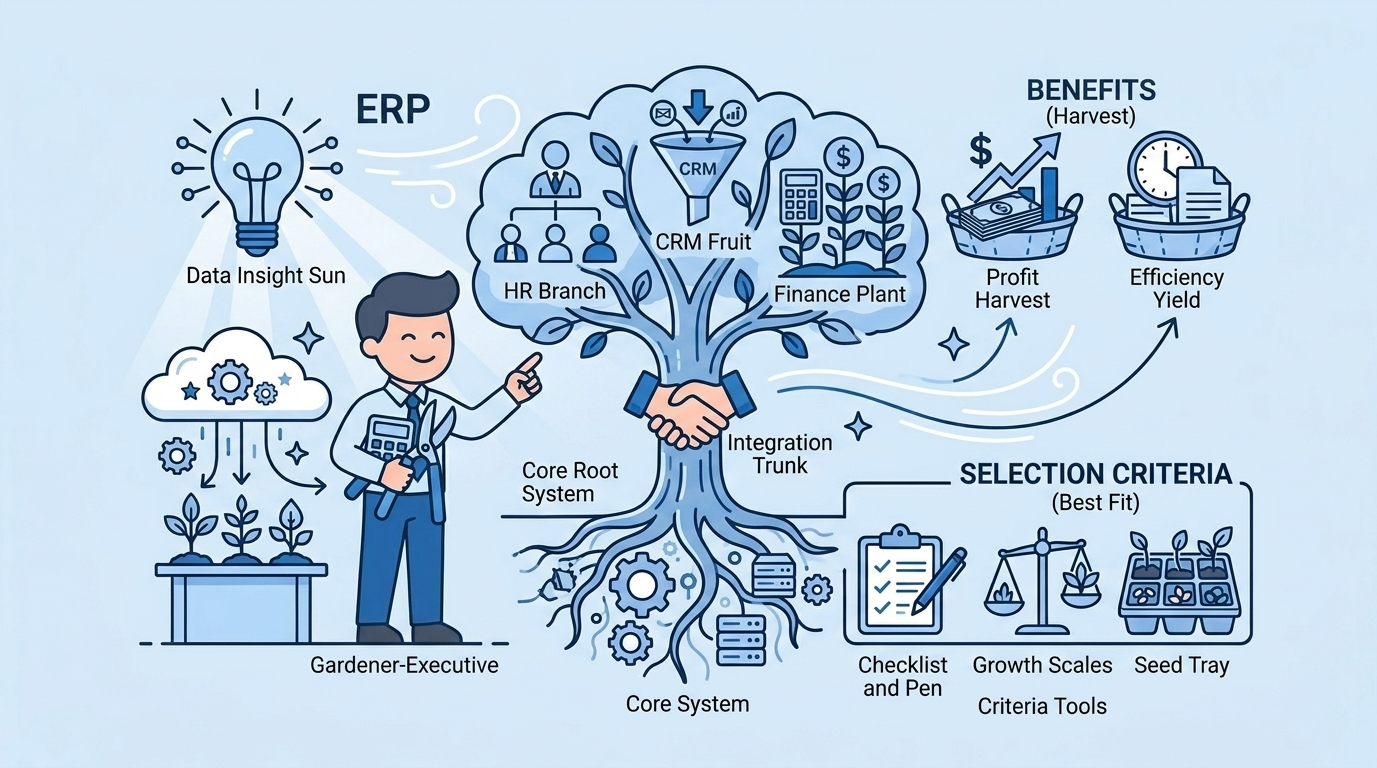
3. Choose your plan and modules
When you create the workspace (or right after), you will choose or assign a subscription plan. The plan defines which modules are available and what limits apply (e.g. number of users, storage, number of products or proposals). Typical modules you can enable include:
- Product catalog: Products, categories, brands, variants, and units. This is the foundation for proposals and invoicing.
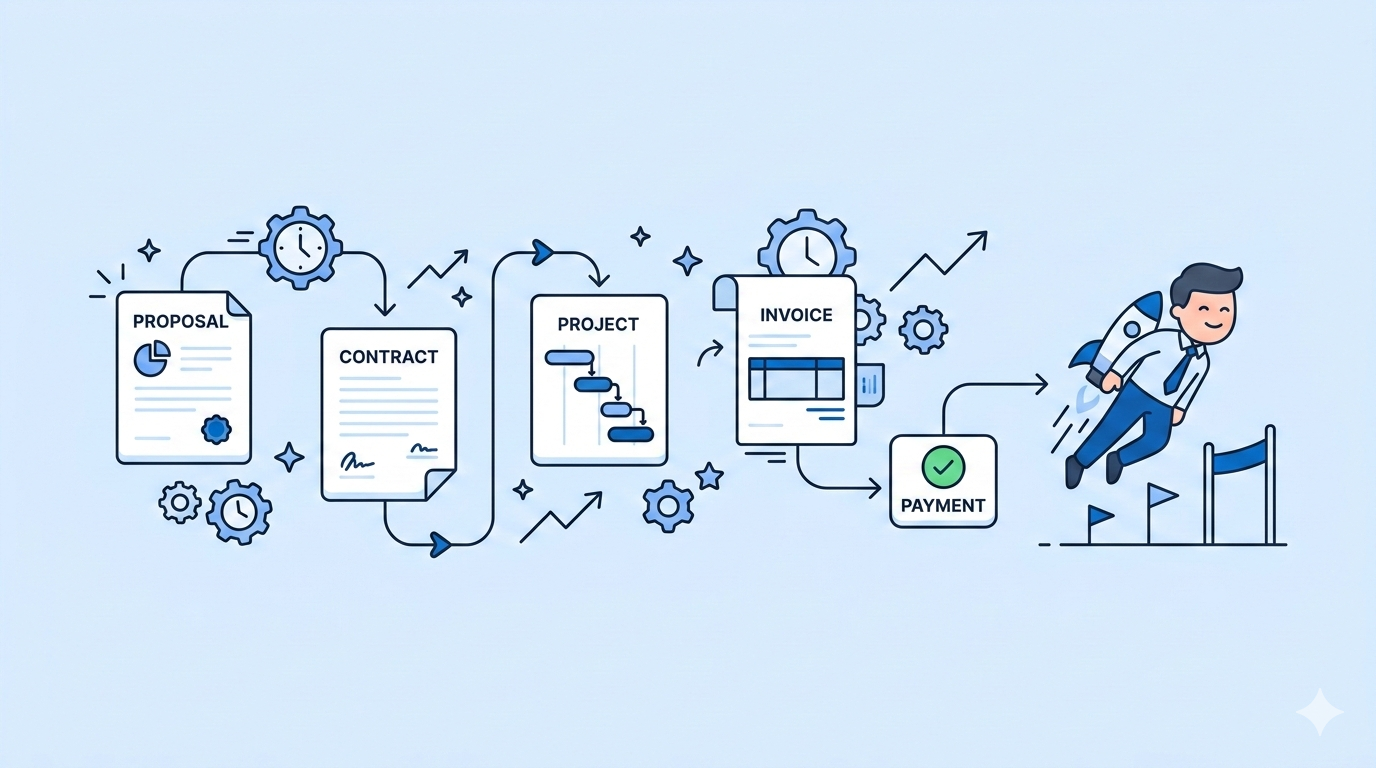
- Proposals: Create and send quotes, use templates, and track approval. Lines can be linked to catalog products.
- Inventory: Warehouses, stock movements, transfers, and counts. Optional if you only need quoting and invoicing.
- Cost: Cost items and calculations; apply cost to products for pricing and margin control. Optional but useful for margin analysis.
Enable the modules you need for your first use case. You can add or adjust modules later as your plan allows.
4. Configure module settings (optional)
Each module has its own settings (e.g. default unit, number format, proposal numbering). For a quick start, the defaults are usually enough. You can leave them as-is and change them later from the workspace settings or from each module’s settings page when you need to.
5. Add your first data
Once the workspace is ready:
- If the product catalog is enabled, add a few products: name, unit, price. You can add categories and brands later.
- If proposals are enabled, create your first proposal: add lines (from the catalog or manual), set customer and terms, and save or send. This confirms that catalog and proposals work together.
All data is stored per workspace, so you can experiment without affecting any other workspace or account.
Summary
In about five minutes you can create a workspace, set name and language and currency, choose a plan and enable the modules you need, and add your first products and proposal. From there you can invite users, refine settings, and start using Yelken360 for your daily workflow.